Hi Guys! Today, I am going to teach us how to do user Auth in Laravel 8.x. As you all know, the Laravel team released the "latest version" last week which is Laravel 8, and as expected, there is some difference between the previous Laravel 7 and this present version.
Previously, in Laravel 7 and Laravel 6 in other to do user Auth, we use an artisan command composer require laravel/ui.
In Laravel 8.x, there is a major change in that area in the sense that many things are introduced and a lot of configurations have been done to get you started and not minding the boilerplate of your application, one of those changes is the introduction of Jetstream, Laravel Jetstream is a beautifully designed application scaffolding for Laravel. A major shift from the legacy authentication UI of Laravel.
Step 1: Install a new Laravel app
composer create-project laravel/laravel projectapp --prefer-dist
The command above only install Laravel, however, if you want to install Jetstream together then either
Laravel new projectapp --jetor
composer require laravel/jetstream
we are going with the first of only installing Laravel, I want to explain other things in the process.
I highlighted some changes noticed in the installation of Laravel 8.x from the previous Laravel versions, you can check them out in my previous post Laravel 8.x CRUD.
Step 2: Database Setup
Open the .env file on your IDE or text editor
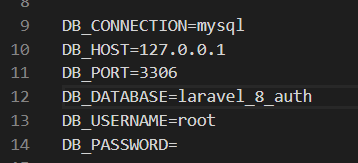
Change the DB_DATABASE to the name of your database and if you have set a Username and password for your phpmyadmin, specify it, otherwise, leave the username as root and password blank.
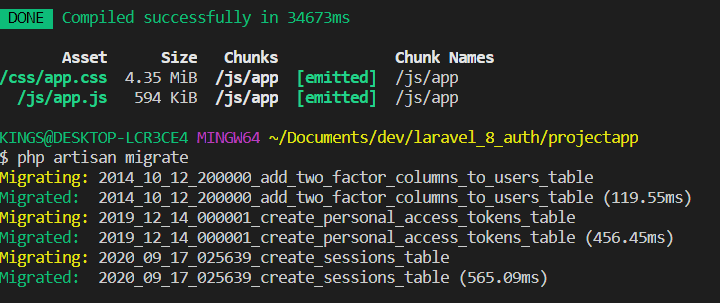
Step 3: Migration
php artisan migrate
Step 4: install Jetstream
composer require laravel/jetstream
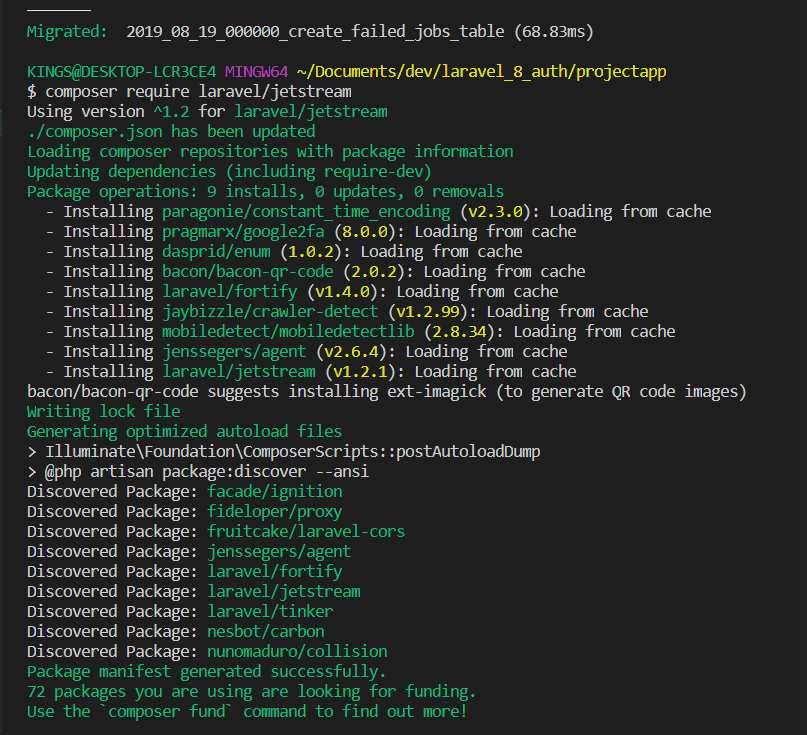
Laravel advises that Jetstream and its stacks (livewire or inertia) should be done on a fresh application because it will install a layout view, registration, and login views, as well as routes for all authentication end-points. A dashboard route will also be generated for post-login requests. So an application that has some of those, might throw some conflicts.
Step 5: Install livewire or inertia
We need to install one of the stacks, either a livewire or an inertia stack, in this tutorial, I will only be using livewire because it set up everything I need for the app
php artisan jetstream:install livewire
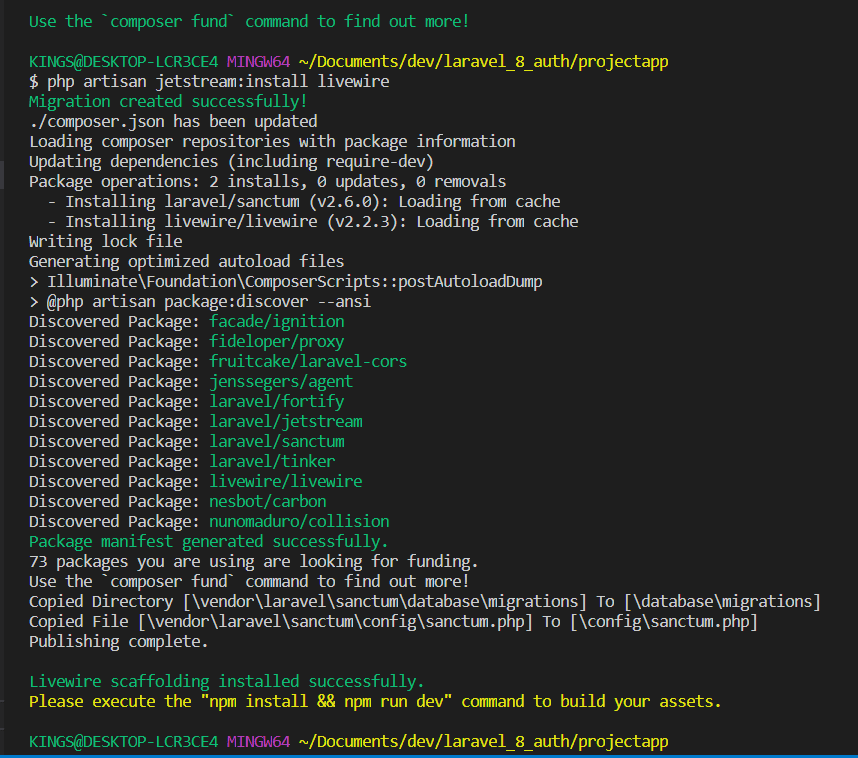
As suggested, run npm install && npm run dev to build all the javaScript files and CSS we need for our app. On successful build, Laravel will send a notification at the bottom left.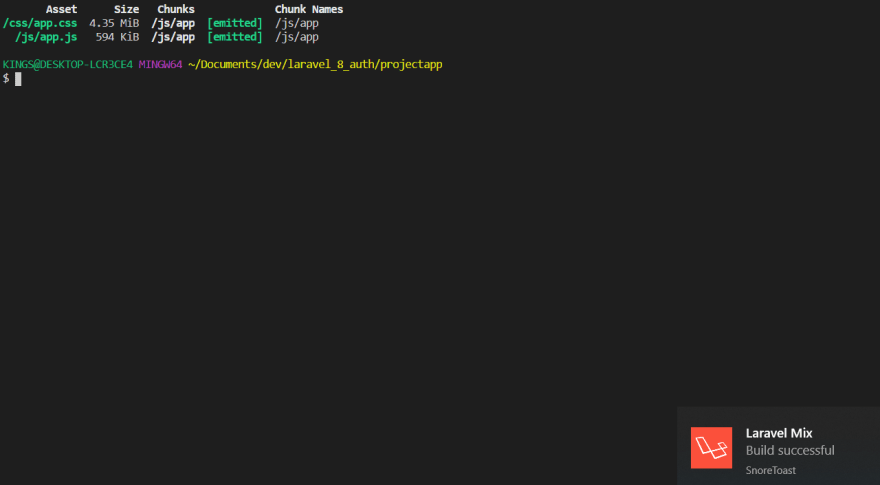
Step 5: Migrate the new table that is created
php artisan migrate
php artisan serve

Holding down the Ctrl button and Clicking the
localhost http://127.0.0.1:8000/ will serve our app in our default browser

Then click on register by the top-right to register an account,

will give us this page, filling your name, email address and password and submitting will take us to the our dashboard

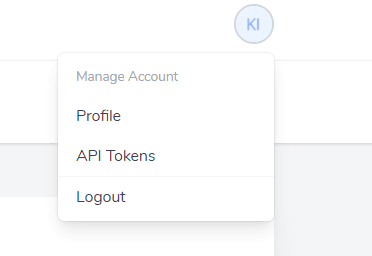
Clicking on the image by the top-right, pulls down a tray that contains our profile, link to logout, and API tokens,
Clicking on the logout, will log you out of the app and return the page to the localhost http://127.0.0.1:8000/ , where we have the options of either to login or register another account,
Let's login back

Login will take us to the dashboard, pulling down the image at the top-right and clicking on Profile, will give us options to do the following
- Add a profile picture (max: 1024KB)
- Edit our name
- Edit our email address
- Change our password
- Enable two-factor Authentication
- Browse sessions
- Delete account With this, we have our authentication setup, A user can receive email notification in the case where the user forgets his/her password, an email to reset the password within 60 minutes of request,
But before requesting, lets setup our mail comfig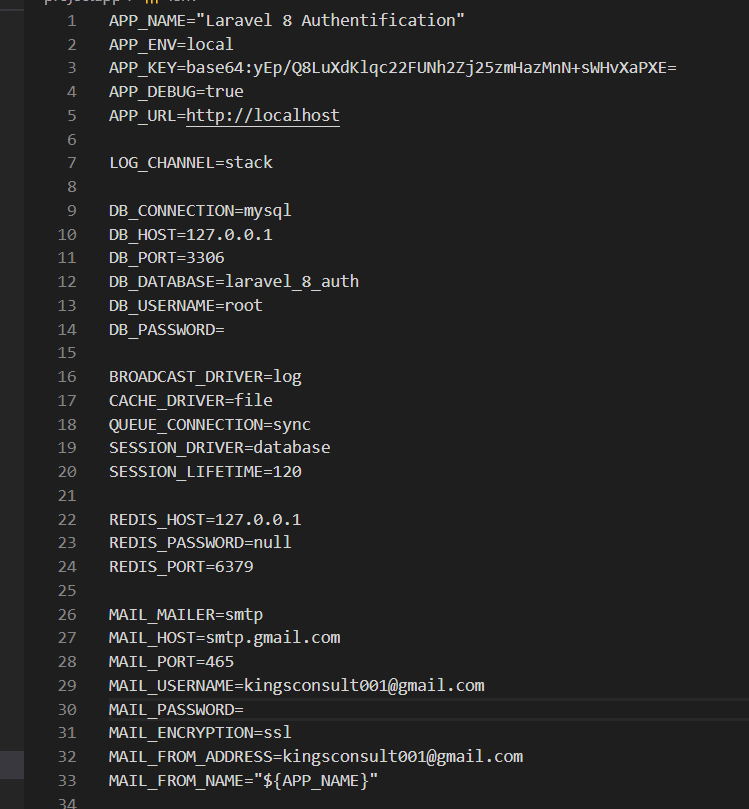
Check my mail settings in line 26 to 33, also checkout line 1 for my app name, then click on email password reset link
then check your mail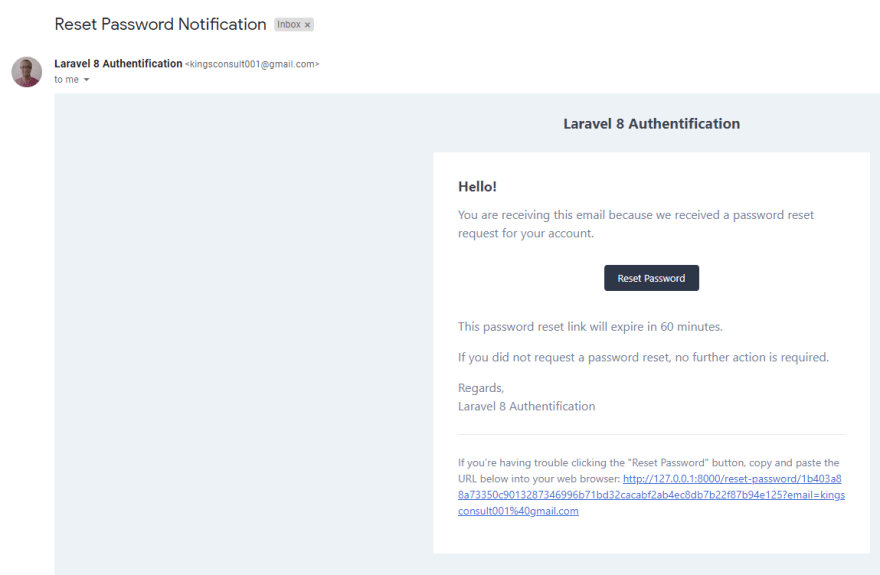
Finally, we are done, hope this explains it very well, in case you miss anything or you did not follow all through, here is the code on my Github
You can leave a comment, suggestion for improvement or corrections, don’t forget to follow me.


